
Sew With Me: Unpaper Doll Maggie Part 1

This fun in the hoop project is perfect for birthdays, Easter gifts, Christmas gifts or just because. The doll can be purchased here and she comes in the 4x4, 5x7, and 6x10 hoop size. Yes! That's right!! She can be made in a 4x4 hoop as well! She comes in ART, DST, EXP, HUS, JEF, PES, SEW, VIP, VP3, and XXX formats. The 4x4 doll and house is roughly 4" tall. The 5x7 doll is roughly 5.5" tall and the 6x10 doll is almost 6.5" tall.
My daughter circled me like a vulture as we worked on this project! She was very vocal in her clothing choices and hair color. After all, she gets all my test sew projects like this!
Let's get started with the basics. Let's talk supplies:
- Water Soluable Stabilizer- I use Ultra Solvy! This stuff is awesome
- Scissors
- Embroidery Machine
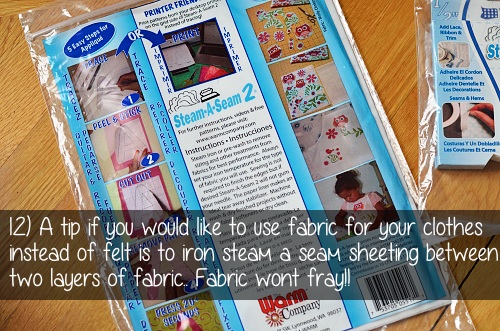
- Steam a Seam 2 From the Warm Company- This stuff will change your life!
- Embroidery Thread
- Felt and/or fabric. Get Amazing wool felt on Etsy!
- Temporary Spray Adhesive. I use gunold brand but this would work as well
- 1" Ribbon piece approximately 12" long
- Optional: toothpick, feather, buttons and GEM TAC glue
Now that supplies are out of the way, its time to begin.
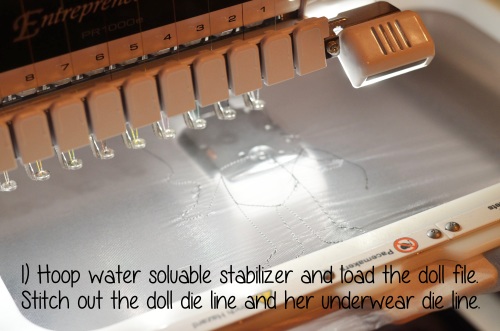
I accidently used regular Super Solvy here on my doll. Dont use this stuff...the die line stitches will rip it up! Super solvy is really thin and light weight. Its best to use it to cover towels an high pile items that you are going to embroider on. Because its thin it melts quickly when wet, making it perfect for projects that have pile and you need to get it all off with water.

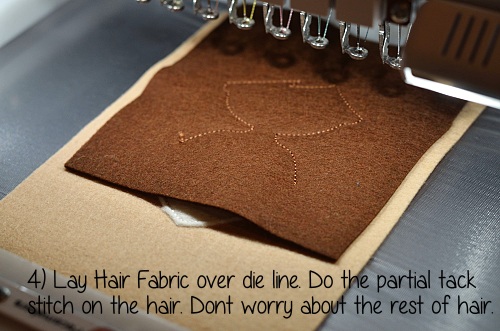
On step 4 the reason why it doesnt stitch the hair all the way around is because I didnt want to go over the hair twice when the final tack down is done. You'll see this further along.
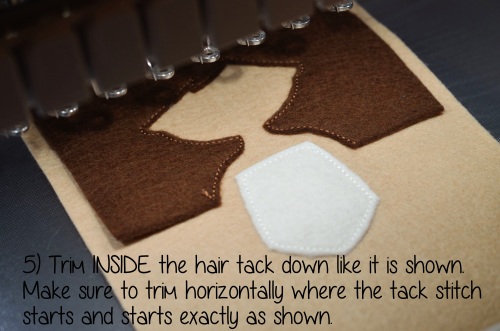
Its important to make that horizontal trim where the tack down line starts and stops. The reason is that later on all that extra hair fabric is going to get it our way. You should be able to see her underwear. Just trim exactly as I have done above.
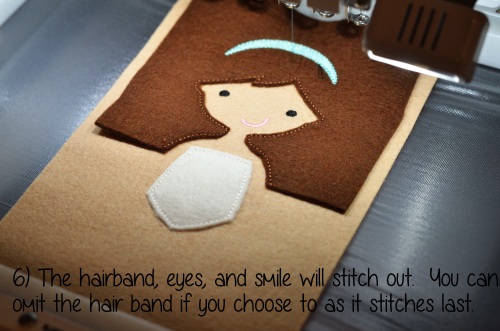
You can Leave her headband off if you want to. Just skip that step on your machine. I thought it helped to add some dimension to her otherwise flat appearance. No pun intended lol.
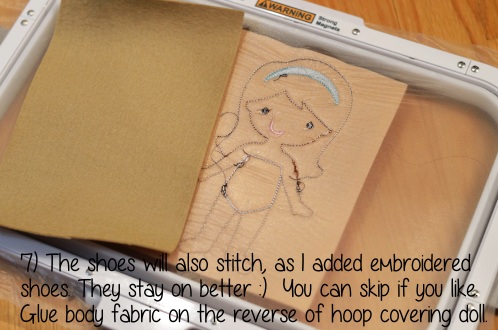
While making the doll, I discovered that her shoes are going to BE TINY and get lost immediately. So I went back and added filled stitch shoes to the doll pattern at the end of it. I sure am glad I did because, as I suspected, her little shoes were constantly getting lost.
I like to back my in the hoop projects with felt to hide all that reverse bobbin stitching. Yeah its ugly. But more importantly, this backing really makes her thick and not so flopsy.

I probably should have used white to outline her body. Oh well. At this point those little shoes will stitch. If you dont want embroidered shoes, skip the color after the body tack down stitch and go on to the shoes like pictured below.
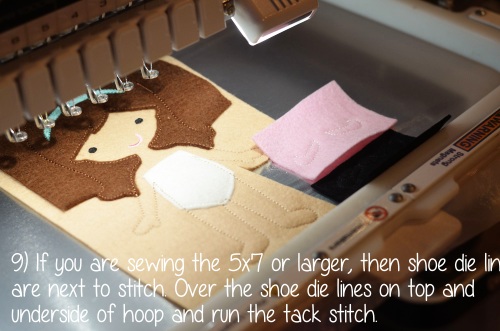
If you do sew out the shoes (God help you lol), there will be two pair. If you are sewing the 4x4 doll, her shoes are on another file you will be sewing. So for 4x4 hoopers, when the body stitch has completed you are done with the file. If you want embroidered stitched shoes, you are done with the doll file. If you wan REAL shoes...you need to do step 9.
Load up the CATANDCLOTHES file. Hoop a new sheet of the Ultra Solvy or whichever water soluable stabilizer you prefer. Technically, you can also use plain white felt as your stabilizer, but things might get too thick for you. The first dress die line will stitch and you are going to need some dress fabric. Now you can go for felt and not worry about fraying. But felt only comes in so many colors and all that fabric you have bought over the years is going to go to waste. Poor fabric. When you tell your hubby you want to buy steam a seam and he gives you that look, you can happily inform him that it will enable you to actually use your huge pile of stash fabrics that are taking over the house. He will beam a big smile and hand you his credit card. :)
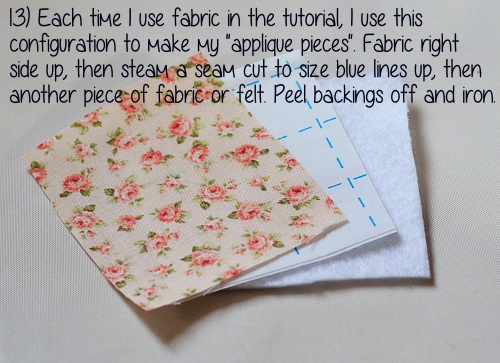
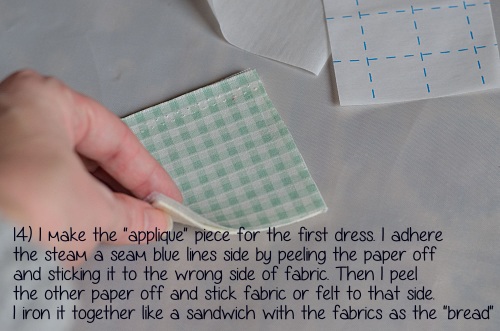
Any time you want to substitute felt with actual pretty fabric, make a sandwich. A Steam a Seam Sandwich that is! The fabric is the bread so you will need two pieces of fabric cut the same size. And the Steam a Seam material is the cheese. It has paper on both sides that need to be peeled off. It really doesnt matter which side goes to which fabric, but make sure that the pretty side of the fabric faces out. When you flip you sandwich, you should see the right side of fabric either way.
I also use these applique ironing sheets. They are teflon or silicone sheets I believe and so my fabric and thread wont burn or melt. I mistakenly bought two, but I am glad that I did because I can put things I want to iron between the two pressing sheets and iron away. They are quite large too!
Thats it for Part 1! Read on to Part 2 here!
Recent Posts
-
10 Supplies to Master 3D Machine Embroidery (In the Hoop Designs)
Introduction: If you’ve ever admired those adorable, intricate 3D plushies and in-the-hoop (ITH
-
10 Machine Embroidery Mistakes That Could Ruin Your Project (And How to Avoid Them!)
Introduction: Navigating the Pitfalls of Machine EmbroideryEmbroidery can transform any textile into