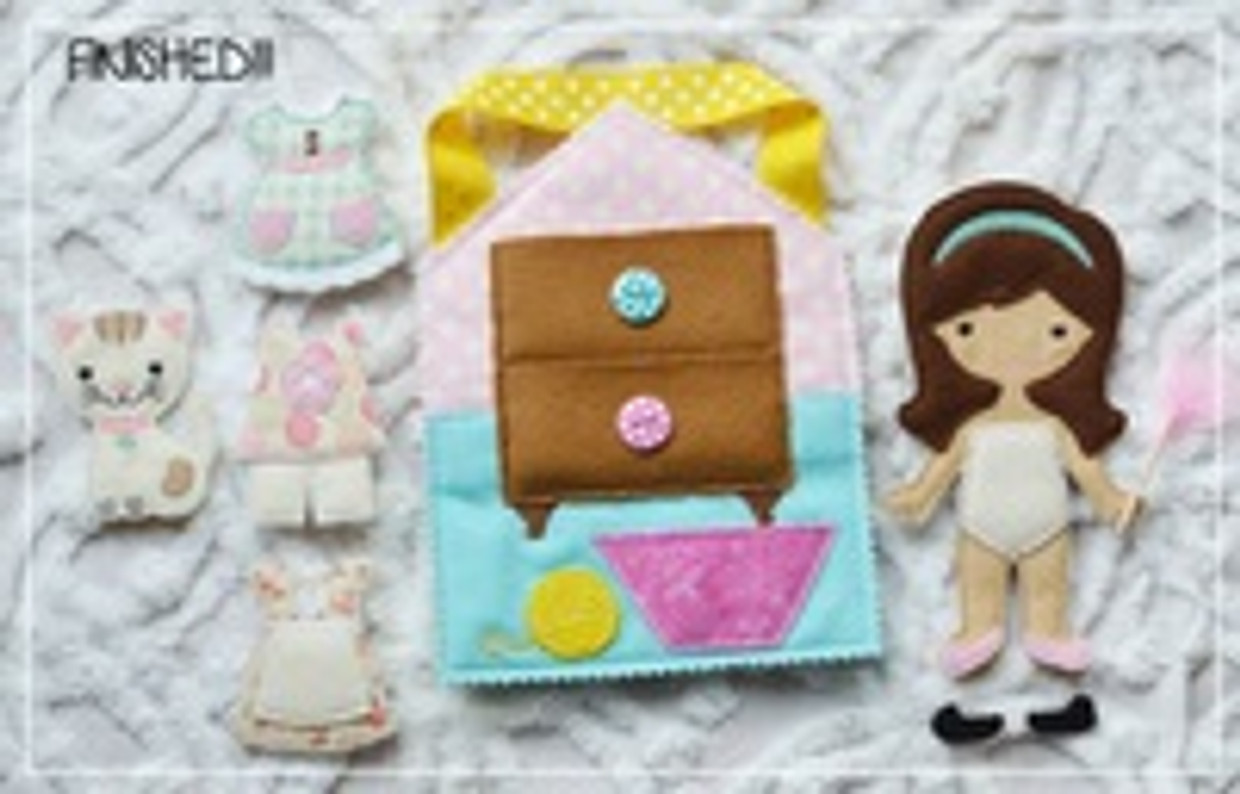
Sew With Me: Unpaper Doll Maggie Part 4
Its time to finish up our sew along with me series on the In the Hoop Unpaper Doll Maggie design from Planet Applique! So far we have completed the doll, the clothing, the kitty and the bed side of the house.
Now we are going to do the drawer side of the house and put it all together.
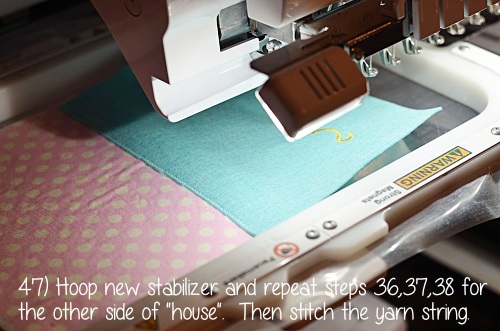
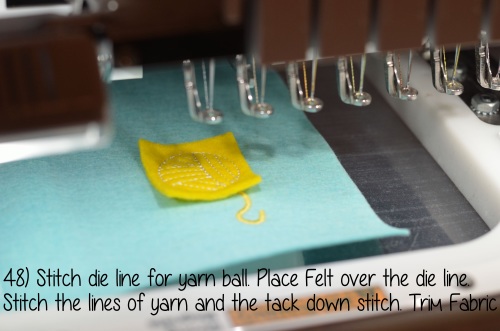
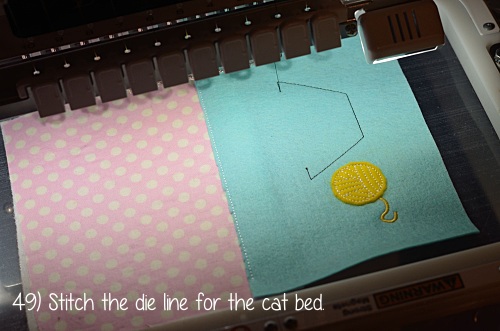
Take note of those top notches. They are markers for where to place the top of your folded fabric or felt in the next step.
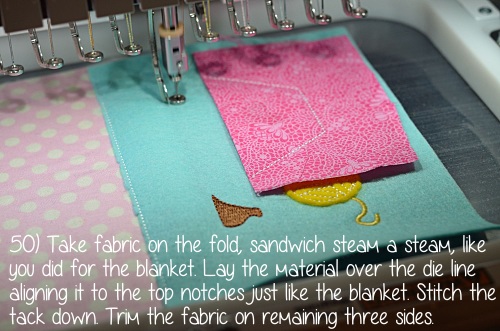
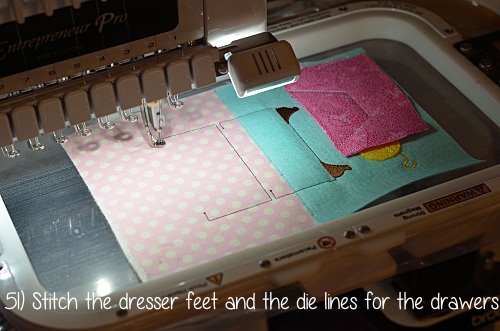
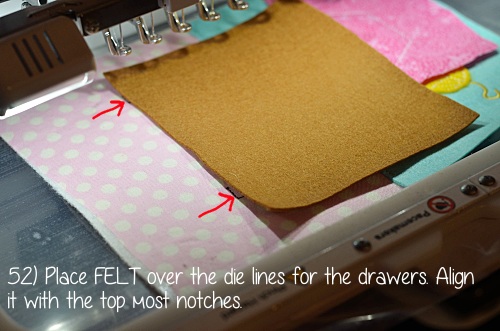
On step 52, instead of doing folded fabric, I use one large piece of brown felt because its going to get cut in a couple of different places. Feel free to use fray free fabric using steam a seam and your choice of fabric.
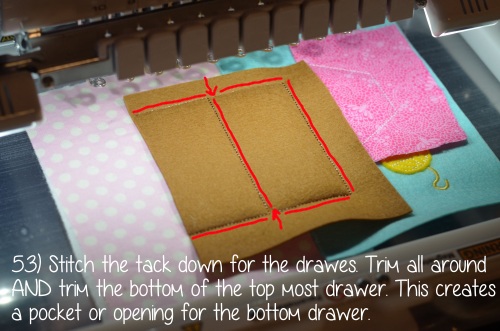
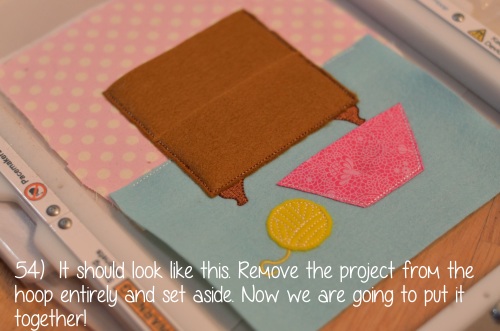
On Step 53, you are going to first trim around the whole brown felt on the three sides. Then go back and trim BELOW that middle line going through the brown felt. This creates a pocket for the second drawer to hold dresses. You can see the red lines where to cut. See mine below.
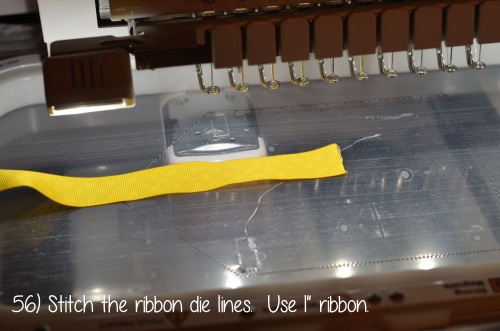
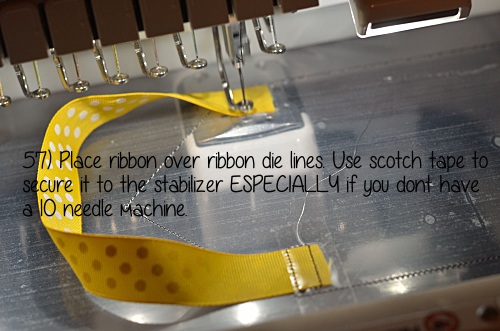
Scotch tape is amazing for ribbon placement!!! If you do not have a 10 needle machine, then the embroidery foot can catch the edge of the ribbon and get all screwed up!! SO, definately use some scotch tape to hold the edge of the ribbon down so it doesnt get caught up in the embroidery foot.
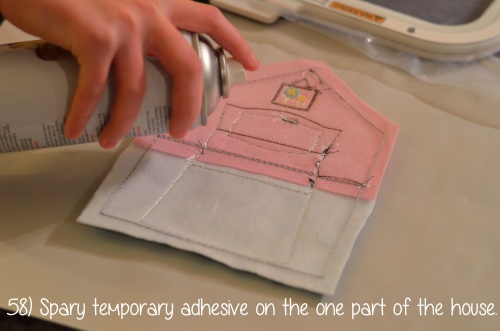
It doesnt matter which side. Just pick either one and spray the adhesive on the reverse side of the house piece you completed earlier.
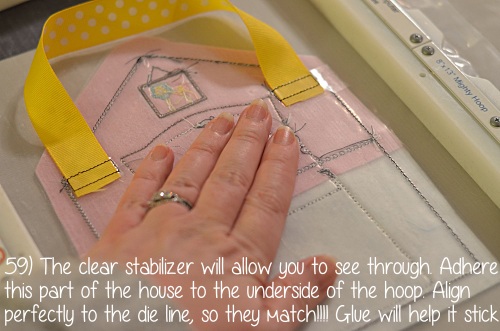
Place the hoop over the piece of the house you sprayed. The clear stabilizer helps you to get perfectly aligned. You should be looking at the ugly side of the "house" piece not the pretty side.
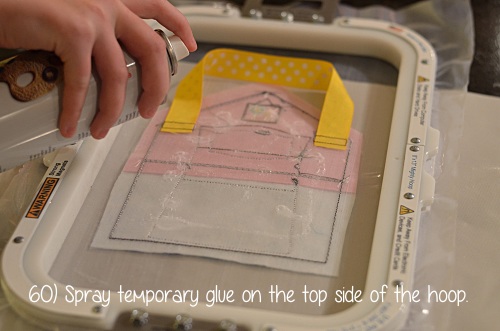
Spray adhesive directly on the water soluable stabilizer. I'd like to point out that I LOVE LOVE LOVE my magnahoop!! Its extremely powerful and making hooping for the 10 needle machine, which I am uber blessed to own thanks to my husband, a breeze to hoop for.
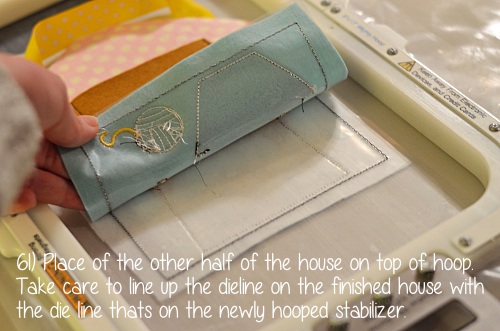
Notice I'm putting the ugly side down and the pretty side up. It can be a bit tricky to get the die lines lined up at this point because you cant see through it.do one edge at a time and glue a little bit at a time if you have trouble. It must be lined up perfectly, so take your time and get it done right.
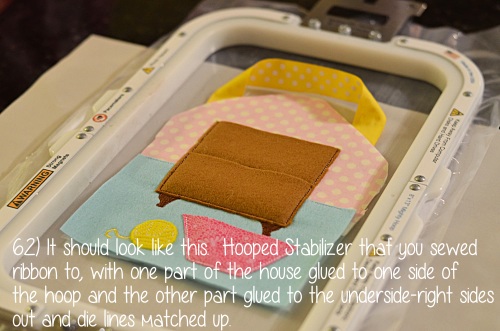
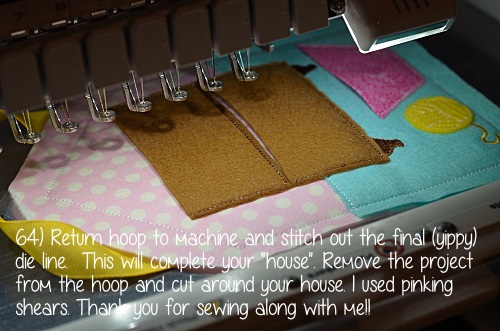
I LOVE pinking shears! When I cut out the house, it provided the perfect edging. PLEASE DONT CUT YOUR RIBBON!!! Fold it down and out of the way. Cut one side of the house at a time when you get to the top so you dont cut through that ribbon.
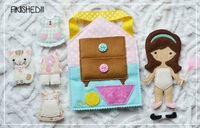
You can embellish your project with buttons like I did! I just used GEM TAC and a few spare buttons to glue them on because im super lazy lol. I also made a cute cat toy feather duster stick using a toothpick and the top of a feather I had. I used GEM TAC to glue it to the top of the toothpick. How cute! If your clothes have trouble staying on, you can use some sticky back velcro dots from hobby lobby on the backs of the dresses! Then those suckers will stay put! ENJOY!
Recent Posts
-
10 Supplies to Master 3D Machine Embroidery (In the Hoop Designs)
Introduction: If you’ve ever admired those adorable, intricate 3D plushies and in-the-hoop (ITH
-
10 Machine Embroidery Mistakes That Could Ruin Your Project (And How to Avoid Them!)
Introduction: Navigating the Pitfalls of Machine EmbroideryEmbroidery can transform any textile into

