10 Supplies to Master 3D Machine Embroidery (In the Hoop Designs)
Introduction:
If you’ve ever admired those adorable, intricate 3D plushies and in-the-hoop (ITH) designs and wondered how to make them yourself, you’re in the right place. This article will guide you through all the essential supplies you’ll need to dive into the world of 3D machine embroidery, also known as in-the-hoop designs. From the basics to the specialized tools, I’ve got you covered.
I've been embroidering for over 16 years and I've discovered the tools that really make these projects a success. Now, I’m excited to help you skip the stress and start off on the right foot.
At a Glance:
- Rubber Tie Pin Backs
- Temporary Spray Adhesive
- Water-Soluble Topper
- Scotch Tape
- Plastic Doll Joints
- Magnetic Embroidery Hoops (Mighty Hoops, Monster Hoops)
- Multi-Needle Embroidery Machine
- Minky Fabrics
- Table Clamping Tape Dispenser
- 6" Double Curved Fine Tip Appliqué Scissors by Gingher
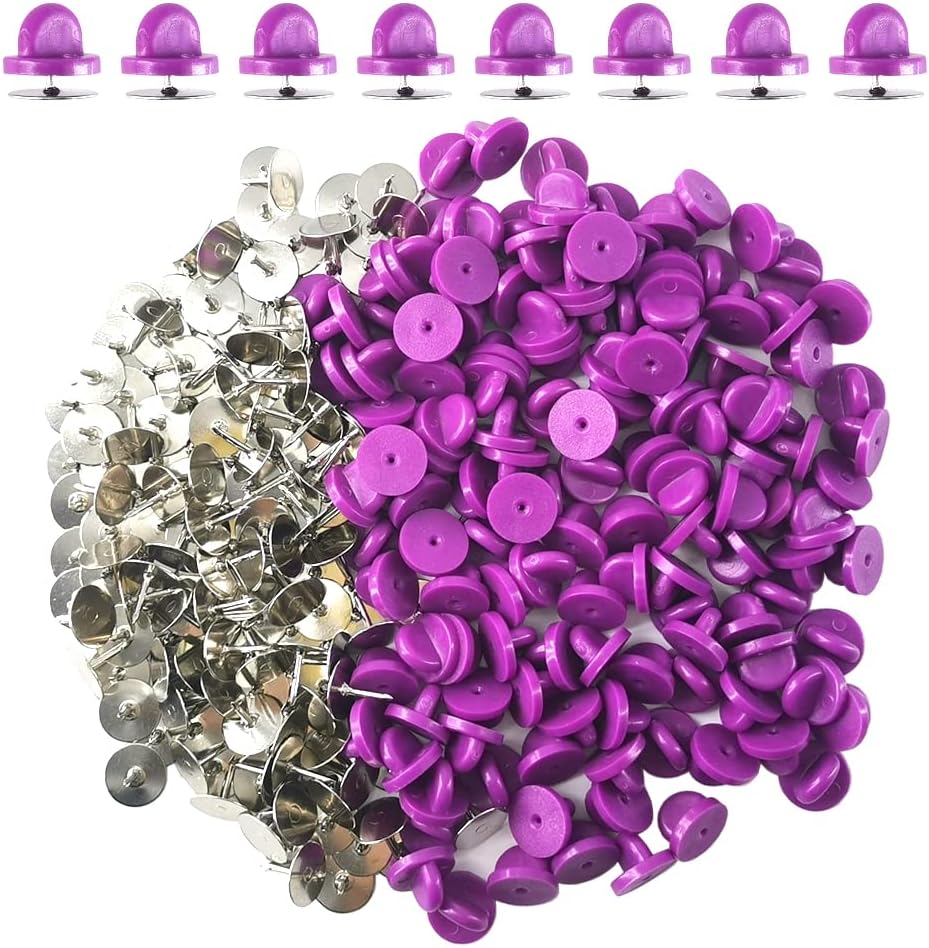
1. Rubber Tie Pin Backs
What Is It:
Rubber tie pin backs are small rubber caps that can be used in place of traditional metal pin backs. They’re usually used to secure pins but can be repurposed in embroidery projects. They are a one time investment and extremely affordable. They come in adorable shapes like clouds, stars, hearts, and more. They are colorful so they stand out against your fabrics and are easily spotted.
How to Use It:
You’ll use these to secure loose fabrics, such as minky and fur or any fabric, while you’re working on your in-the-hoop designs. Use them outside of the path of your needle, like the border or in spots you know the pressure your wont go over.
Why It Helps:
These little guys are small and low profile. They are able to hold fabric in place when aligning parts. They also provide additional grip when doing heavy embroidery to prevent puckering. When tape won't do the job, these work wonders and can make all the difference.
Price:
Usually around $7 for a pack of 100.
Where to Find:
Available at most craft stores or online retailers like Amazon.
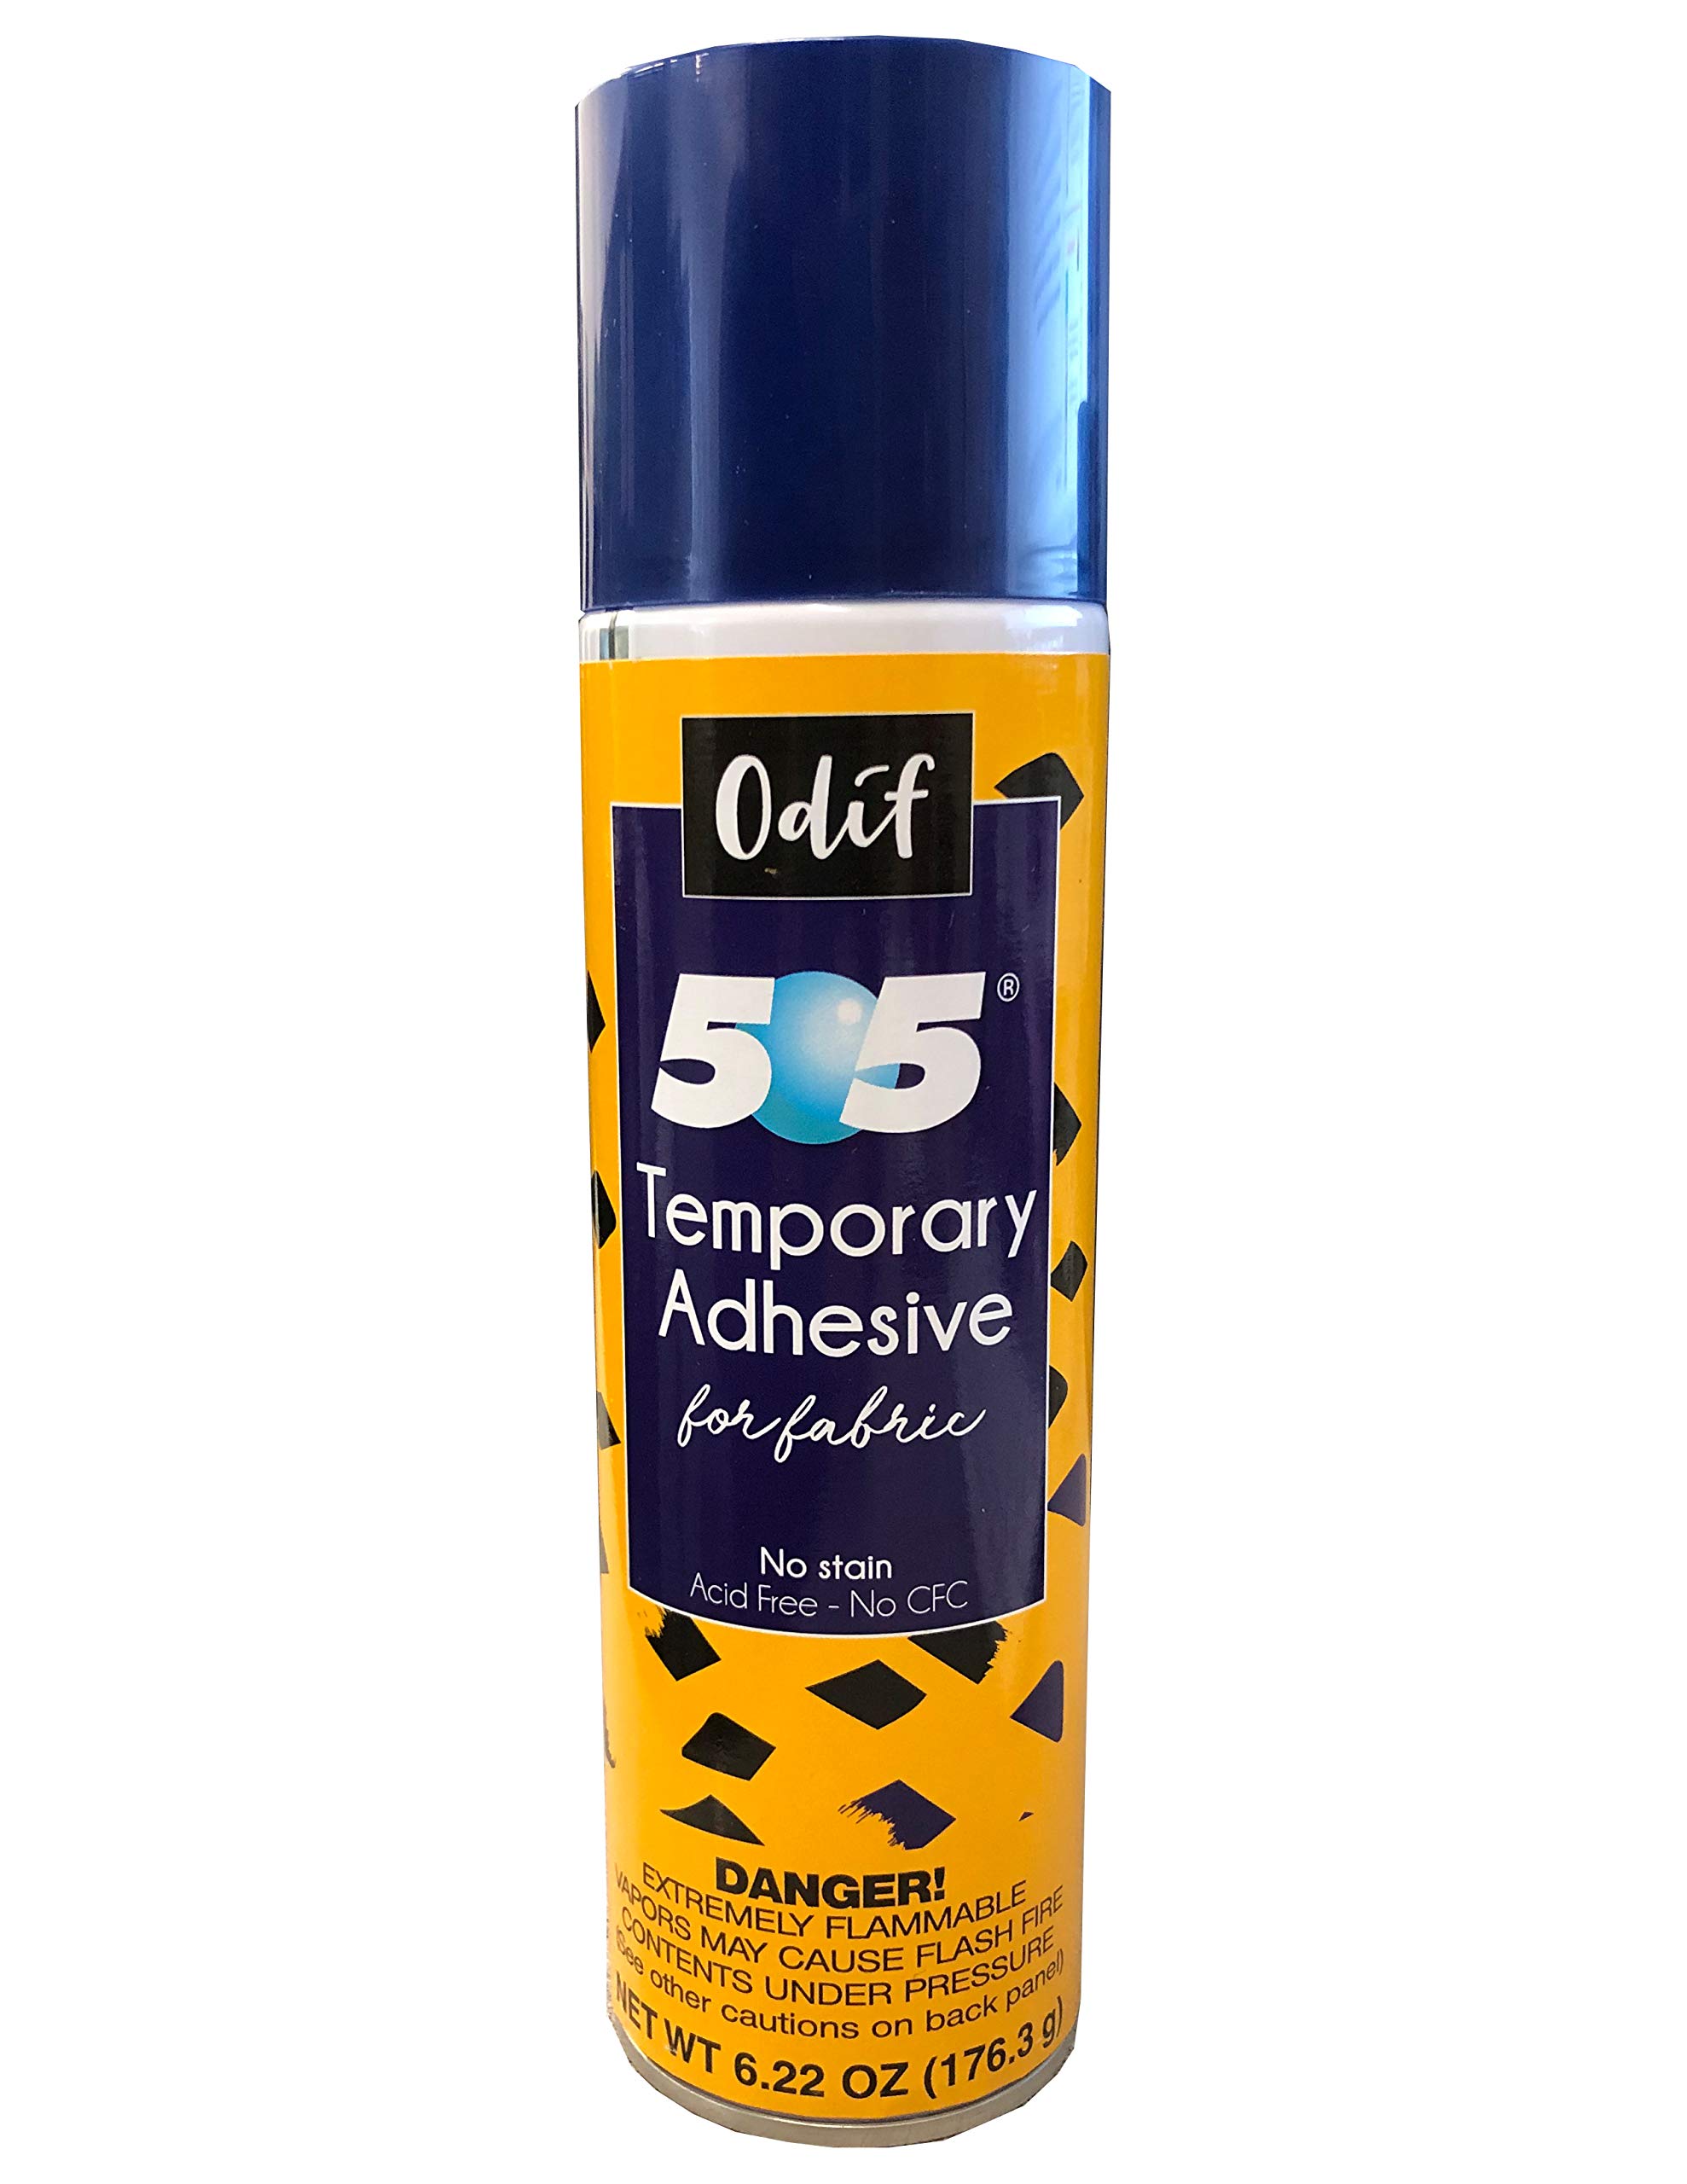
2. Temporary Spray Adhesive
What Is It:
Temporary spray adhesive is a fabric-safe glue that holds layers of fabric together temporarily. In other words, a basting spray.
How to Use It:
Lightly spray it on your hooped stabilizer to hold fabric in place while stitching your in-the-hoop designs. Make sure you select a spray adhesive that wont gum up your needles and will wash away.
Why It Helps:
It prevents fabric from shifting during embroidery, ensuring precise stitching and reducing frustration. It also provides a "tooth" texture to the stabilizer so that fabrics wont slip around. It stabilizing fabric even more so that when you are doing heavy embroidery there is less puckering and pulling.
Price:
Typically $10-$15 per can.
Where to Find:
Available at craft stores, fabric shops, and online.
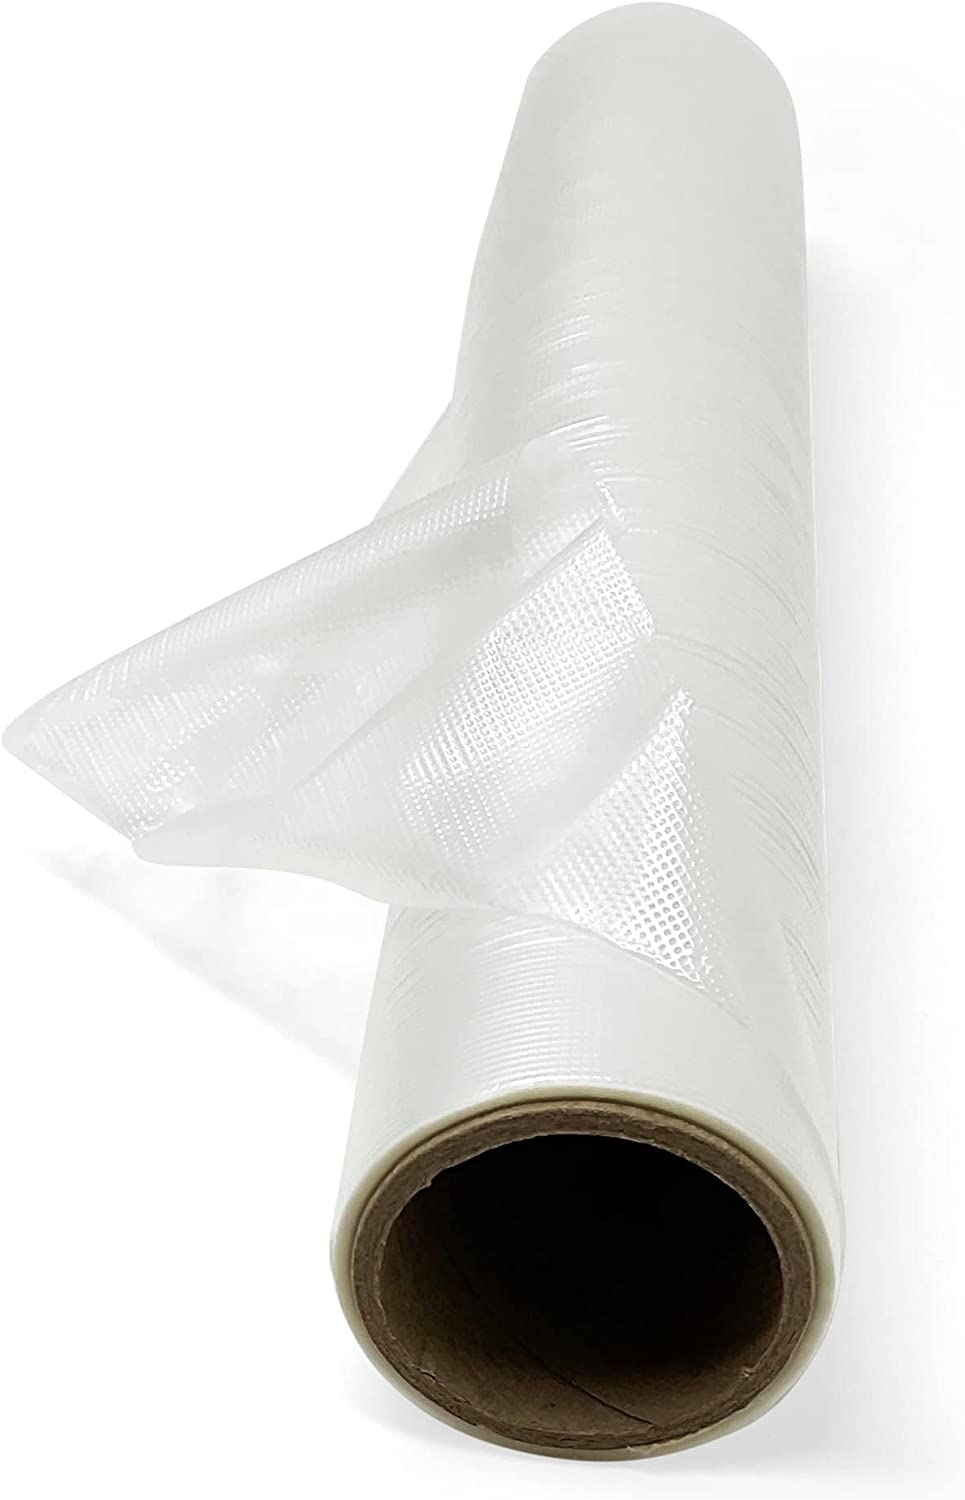
3. Water-Soluble Topper
What Is It:
A thin, water-soluble film placed on top of fabric during embroidery to prevent stitches from sinking into the fabric.
How to Use It:
Place it over your fabric before you start stitching, and once your design is complete, tear it away.
Why It Helps:
Essential for minky and other plush fabrics, this topper ensures that your stitches stand out cleanly. It prevnts little pieces of fuzz from protruding between your stitches.
Price:
Around $10-$15 per roll.
Where to Find:
Found at fabric stores or online.
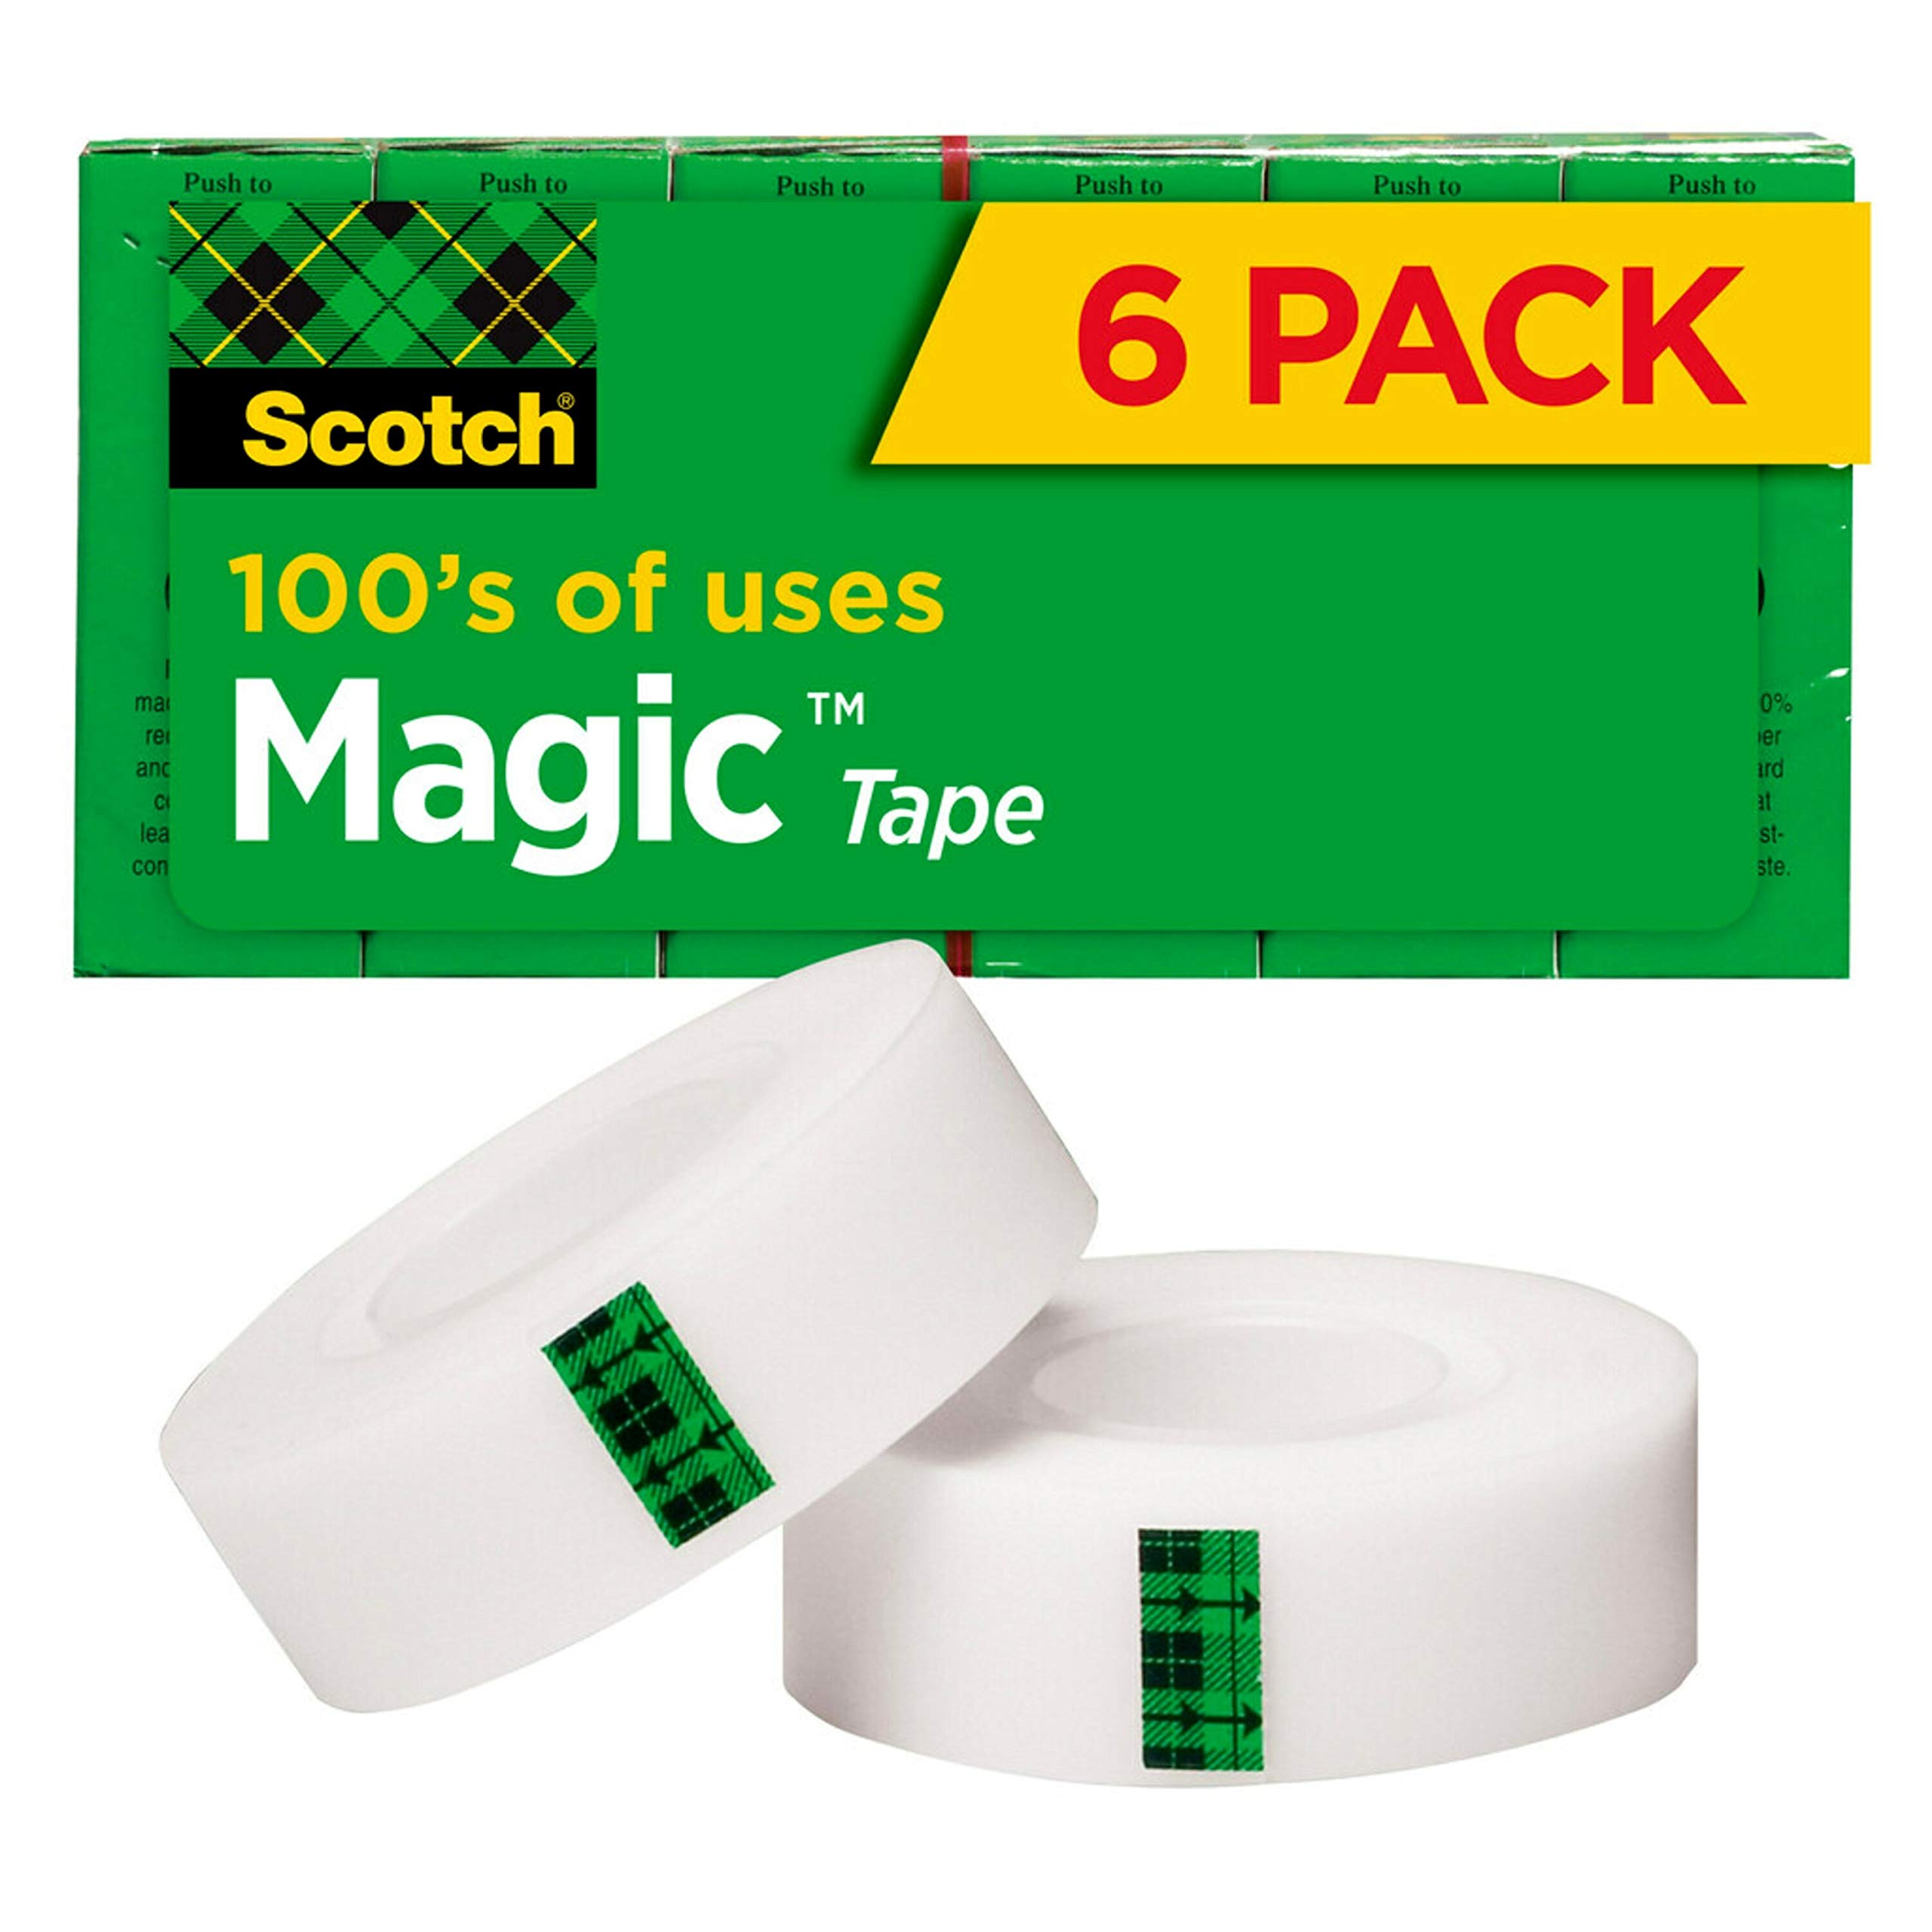
4. Scotch Tape
What Is It:
A household staple, Scotch tape is a transparent adhesive tape.
How to Use It:
Use small pieces to temporarily hold down fabric or secure small parts during the embroidery process.
Why It Helps:
Perfect for those tiny details that need to stay put while you work, Scotch tape is an inexpensive tool that makes a big difference.
Price:
Under $5 per roll.
Where to Find:
Available at any grocery store, pharmacy, or office supply store.
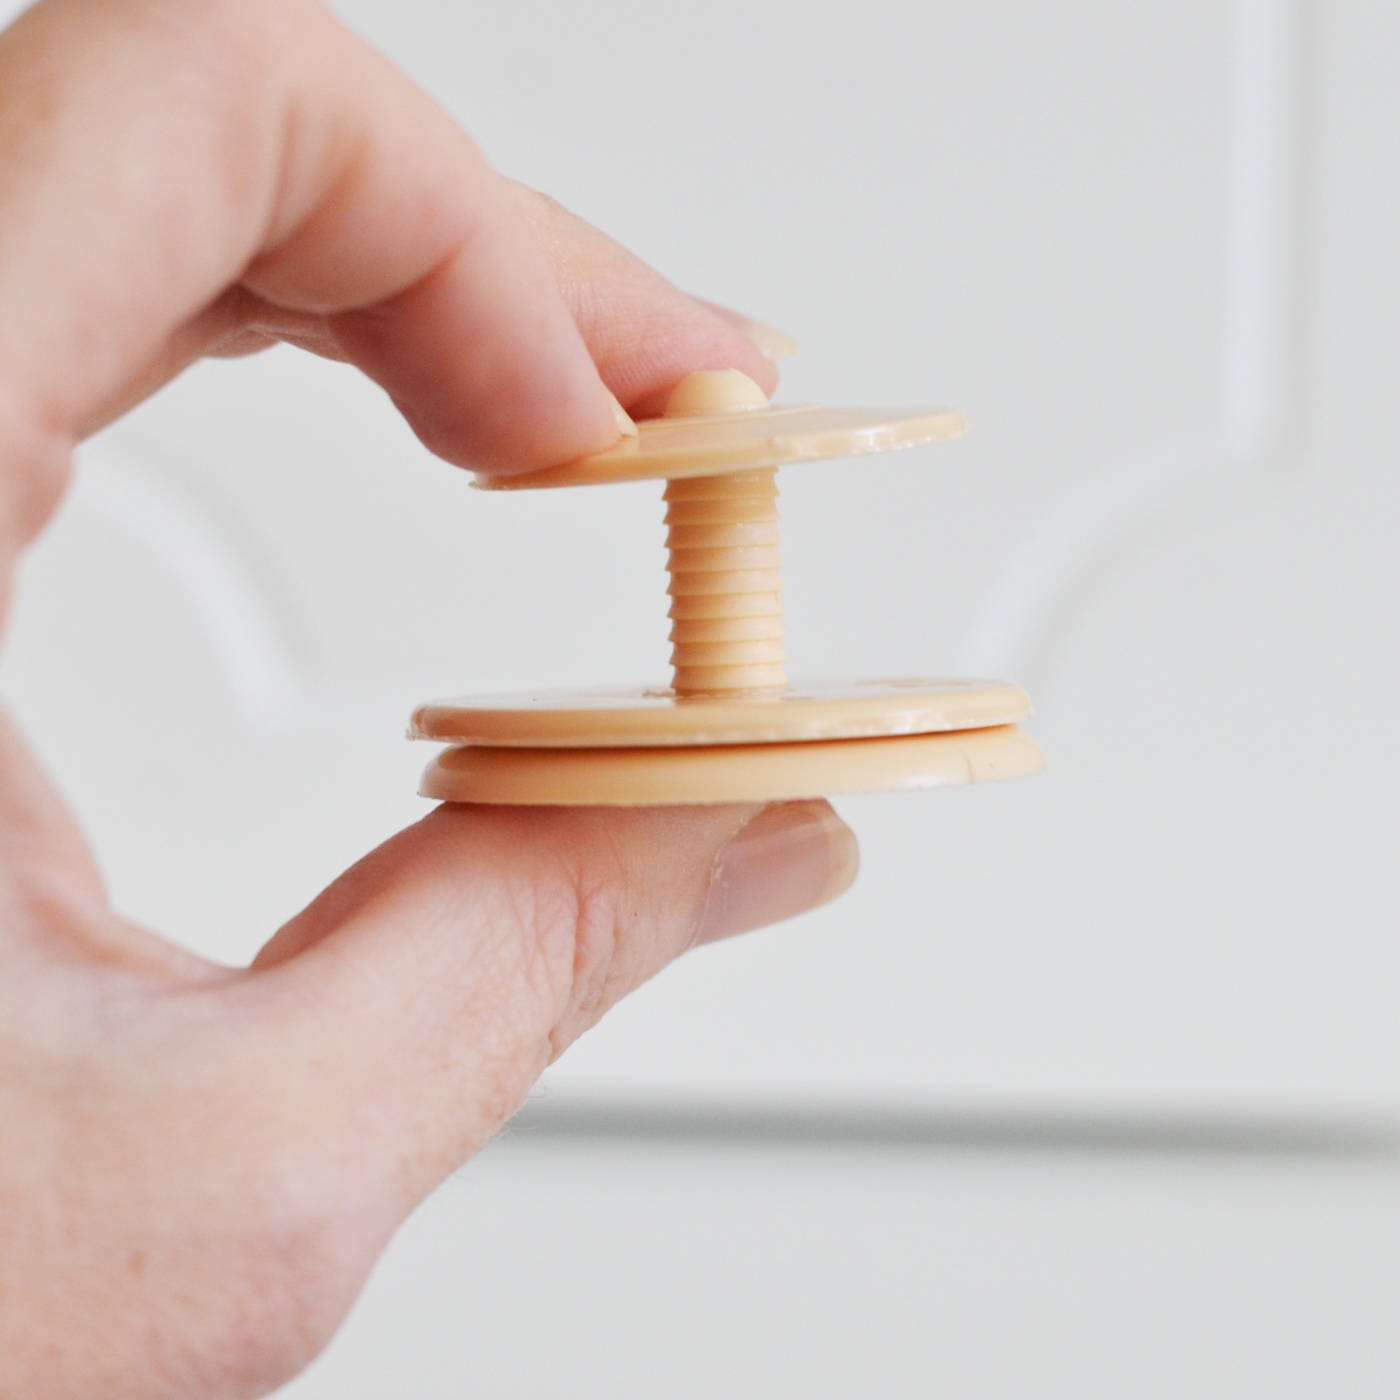
5. Plastic Doll Joints
What Is It:
Plastic doll joints are components used to attach movable limbs to plush toys.
How to Use It:
Insert the joint into the limb, then attach it to the body of your 3D design for movable parts.
Why It Helps:
They make your plushies more interactive and fun, giving them movable arms, legs, or heads. They save you time so you don't have to handstitch body parts on.
Price:
Around $7-$15 per set.
Where to Find:
Available at craft stores or online.
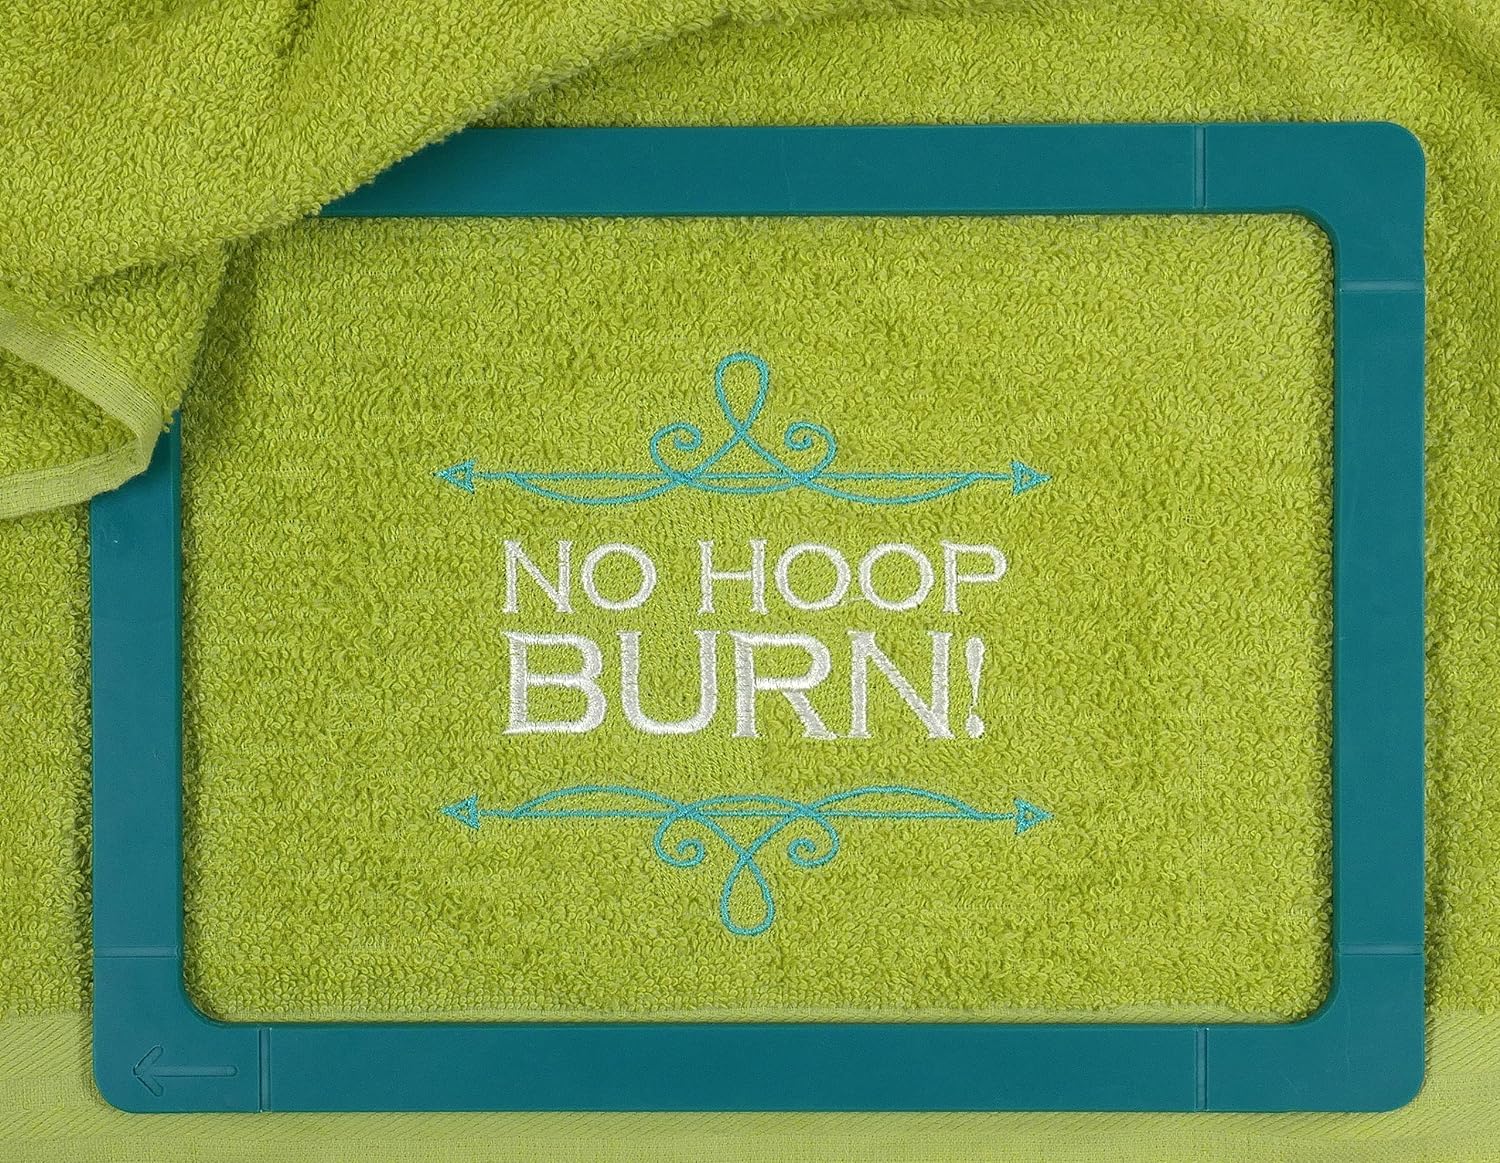
6. Magnetic Embroidery Hoops (Mighty Hoops, Monster Hoops)
What Is It:
Magnetic embroidery hoops hold your stabilizer in place using strong magnets instead of traditional clamps.
How to Use It:
Simply place your stabilizer between the magnetic frames and lay your fabric on top.
Why It Helps:
They reduce hoop burn, make hooping thick or bulky fabrics easier, and save your hands from strain of having to tighten the embroidery hoop clamps. They are wicked fast and take only secs to hoop new stabilizer. I cannot imagine my life without them.
Price:
Typically $100-$200 depending on size. They are pricey!!!! But if time is money, then they would pay for themselves quickly!
Where to Find:
Specialty embroidery retailers or online through mighty hoops or Designs in Machine Embroidery (DIME)
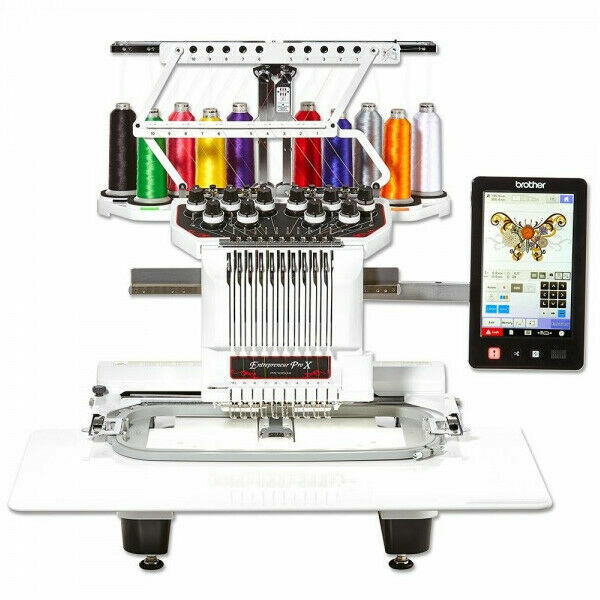
7. Multi-Needle Embroidery Machine
What Is It:
An embroidery machine with multiple needles and heads that can switch between colors without needing to rethread. Huge time saver! Additionally, they have higher quality components, an open bed so garments can hang out of the way, a high pressure foot, higher speeds, and larger touch screens.
How to Use It:
Set up your design, load your thread colors, and let the machine do the rest—switching between colors seamlessly.
Why It Helps:
Cuts down on time and frustration, allowing for more complex designs with multiple colors. The embroidery arm is narrow verses a flat bed so you can hoop items that need to hang out of the way. They stitch at faster speeds so you can move through project hoopings quickly. They also have high pressure feet for each needle so bulk is no longer a problem; it glides over thick projects.
Price:
Ranges from $5,000 to $15,000 depending on the model.
Where to Find:
Available from sewing machine dealers or specialty retailers.
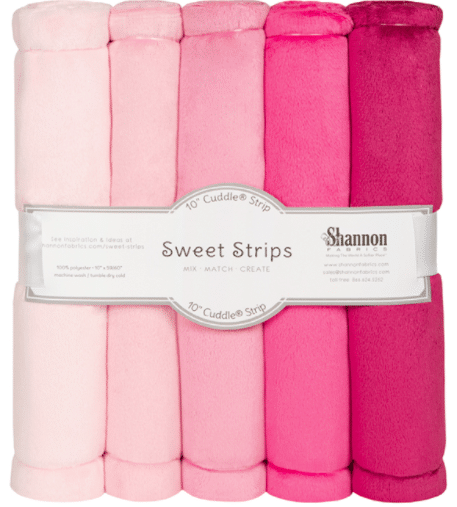
8. Minky Fabrics
What Is It:
A soft, plush fabric often used in making baby blankets and plushies.
How to Use It:
Cut it to your desired size and hoop it up with stabilizer for a soft, cuddly finish on your projects.
Why It Helps:
Perfect for making plush toys, minky fabric gives your designs a super soft, touchable texture. Minky is also thin enough to use on single needle machines, no problem!
Price:
$10-$15 per yard.
Where to Find:
Fabric stores or online retailers.
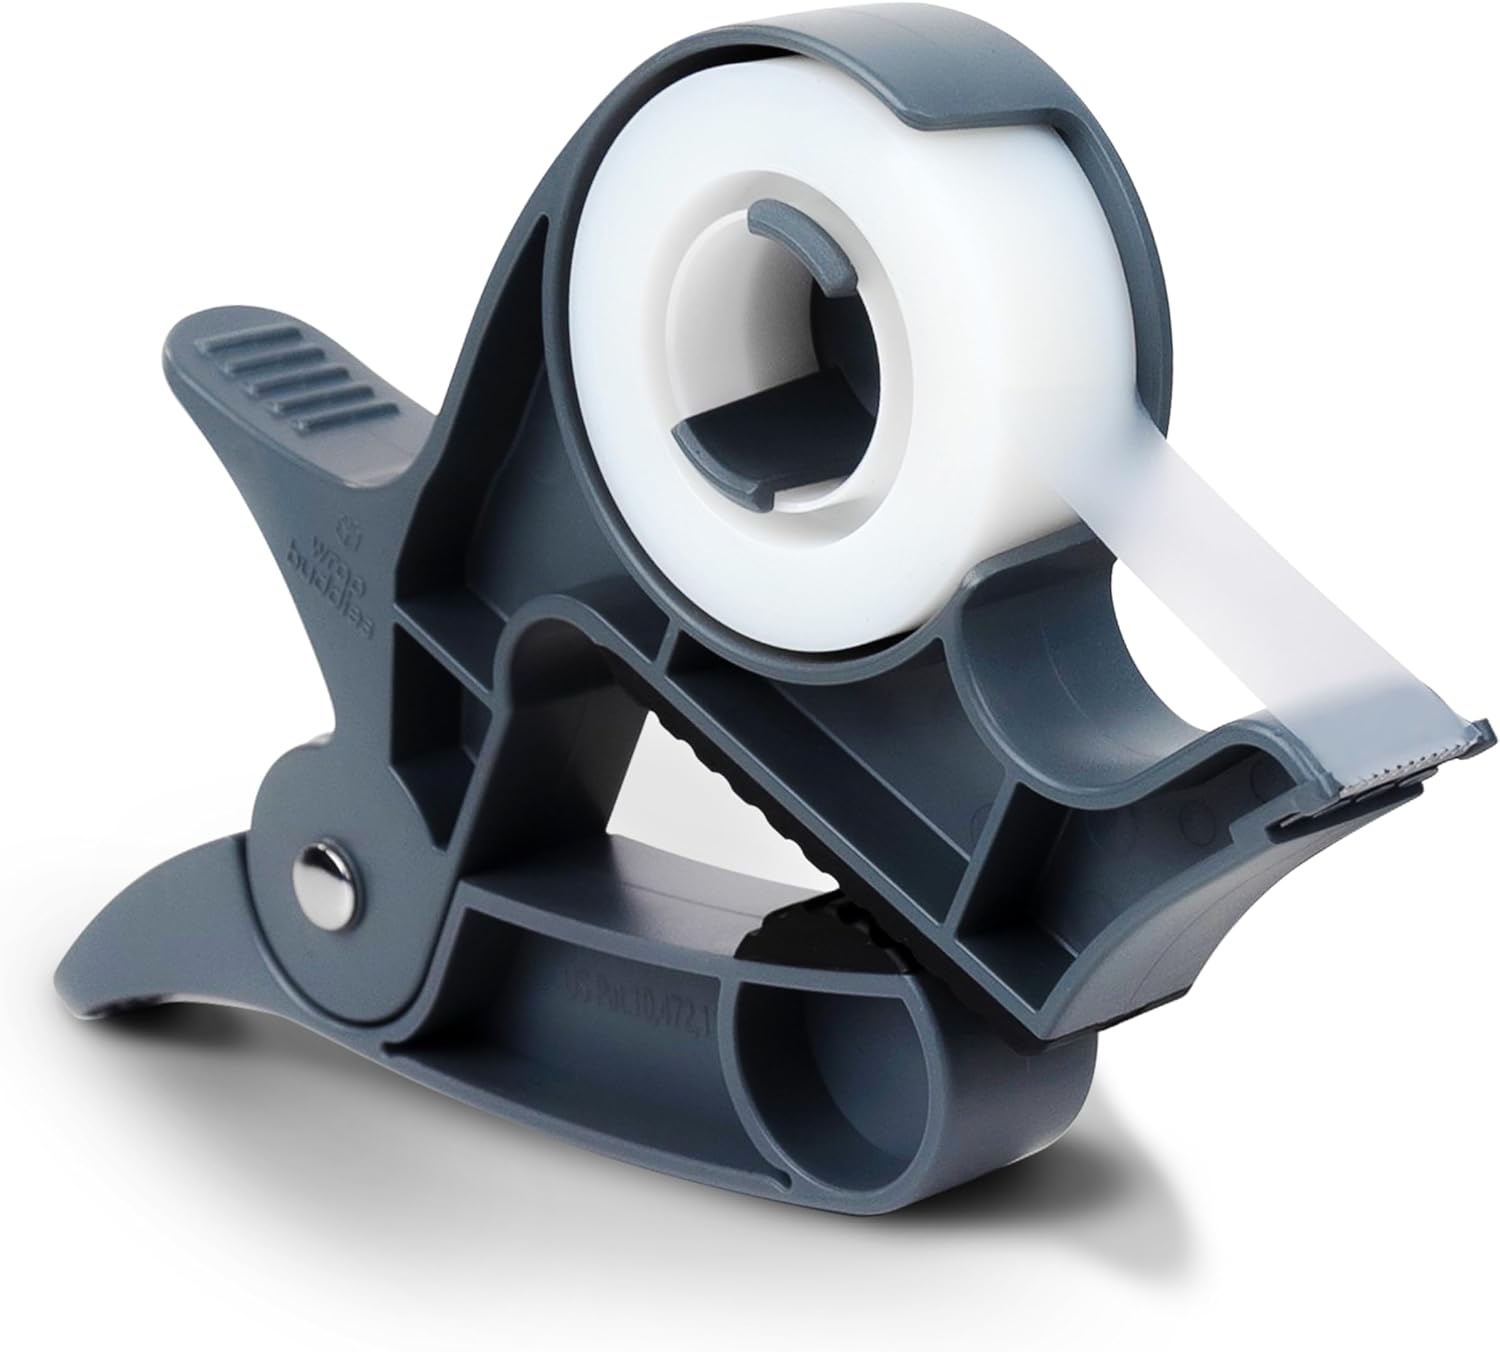
9. Table Clamping Tape Dispenser
What Is It:
A heavy-duty tape dispenser that clamps to the edge of your table for easy access. Usually comes in a set of two and used for christmas wrapping. It holds rolls of wrapping paper but you could modify it to hold a roll of stabilizer instead! Bonus!
How to Use It:
Clamp it to your table or desk, and pull tape with one hand while working on your projects.
Why It Helps:
Keeps your tape handy and your workspace organized, freeing up both hands to work on your design. I find that even weighted tape dispensers will move especially when the tape gets low. The clamp ensures it will never move, plus you could mount it vertically making it even more helpful.
Price:
Around $15-$30.
Where to Find:
Office supply stores or online.
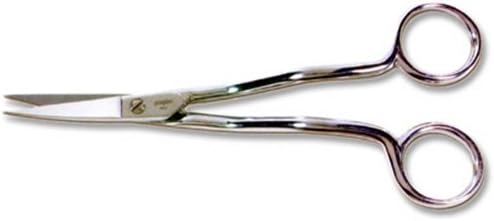
10. 6" Double Curved Fine Tip Appliqué Scissors by Gingher
What Is It:
These are specialized scissors with a curved tip designed for precision cutting close to the fabric without snipping stitches.
How to Use It:
Use these scissors to trim threads and fabric close to your design without accidentally cutting the wrong part.
Why It Helps:
Essential for clean, precise trimming around delicate embroidery designs, especially for in-the-hoop projects.
Price:
Typically $30-$40.
Where to Find:
Craft stores or online.
Conclusion:
Getting started with in-the-hoop 3D machine embroidery is an exciting adventure, and with the right supplies, it can also be a smooth and enjoyable process. From specialized scissors to the perfect stabilizers, each tool plays a crucial role in ensuring your projects turn out beautifully. Whether you’re just starting out or looking to upgrade your toolkit, these supplies will help you achieve professional results with ease. So gather your tools, pick your design, and dive into the world of 3D embroidery—happy stitching!
Recent Posts
-
10 Supplies to Master 3D Machine Embroidery (In the Hoop Designs)
Introduction: If you’ve ever admired those adorable, intricate 3D plushies and in-the-hoop (ITH
-
10 Machine Embroidery Mistakes That Could Ruin Your Project (And How to Avoid Them!)
Introduction: Navigating the Pitfalls of Machine EmbroideryEmbroidery can transform any textile into
